Showing posts with label DIY. Show all posts

Saturday, October 27, 2012

shine

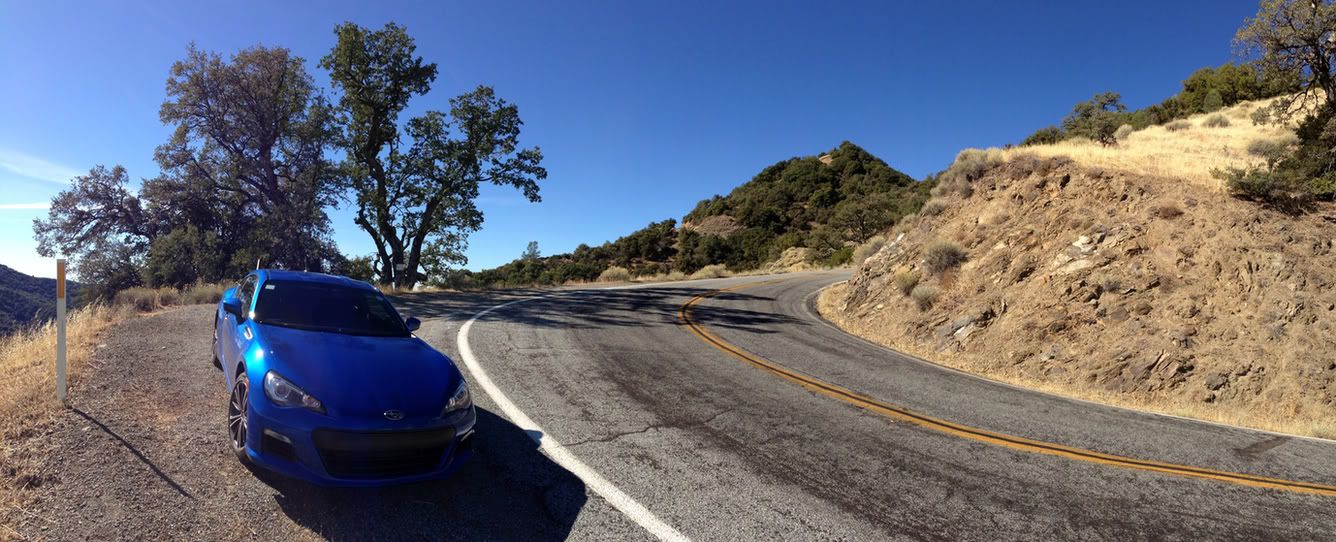
I've decided to name my new car Stitch, after the blue Disney character.
He's blue and has a big smile.

Saturday was quite a day!  First of all I was approaching 1000 miles on the odometer, so I took Stitch out for a nice long drive through some of my favorite roads.  Here is the odometer just as I was about to break 1000 miles.
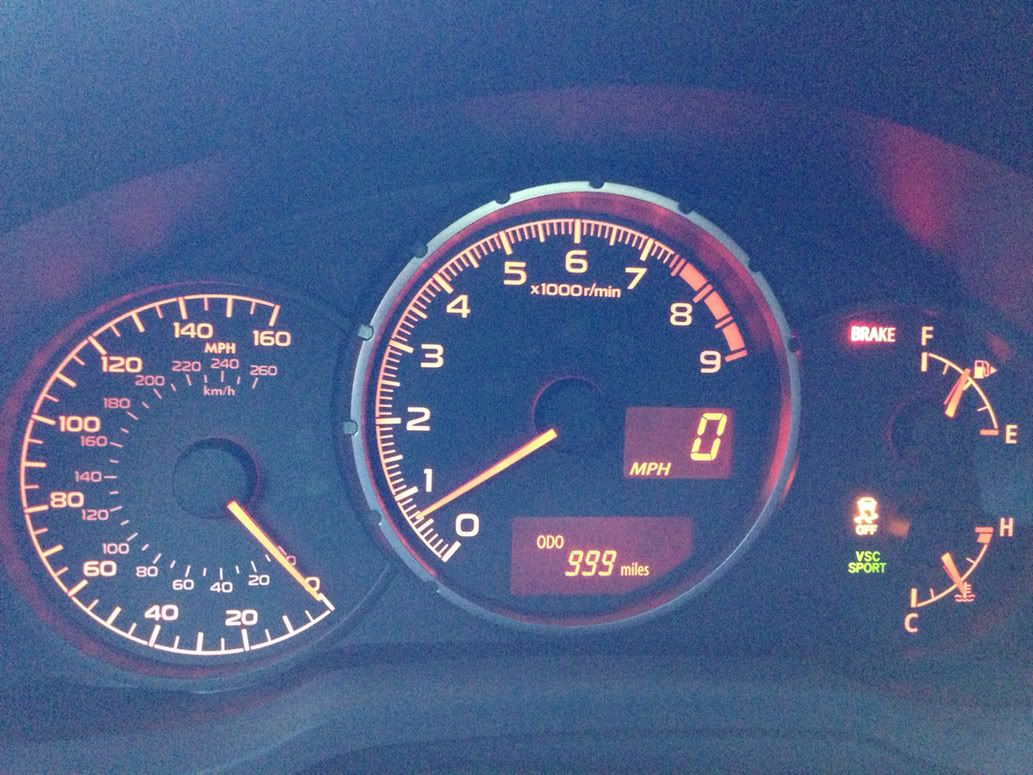
The moment of truth.
It was very hard for me to keep the motor under 4000 RPM during the break-in period.  But once I passed the magical 1000 mark, it was finally time to let 'er rip!  I took it down Palomares Rd, which I think of as my own personal backyard test track, and then out past the wine country vineyards of Livermore, to Mines Rd.  Mines Rd is one of my most enjoyable driving routes.  It goes out to the middle of nowhere and then runs up Mt. Hamilton to the Lick Observatory above San Jose.  If you're an Initial D fan, Mt. Hamilton is like Bay Area's version of Akina.  It's a beautiful mountain road but an incredibly twisty and challenging drive.  Pretty unforgiving too -- if you make a mistake and go off the edge of the road, you're going off a cliff and down a long ways.  So you have to keep it safe and sane here.  I didn't switch the traction control all the way off, but did go to VSC Sport mode to have a little more fun.

And oh man, what fun it was!  This was my first real opportunity to see what this car is all about, rev it like it was meant to be driven, and push it a little in the corners to see just how crappy the tires are.  To my surprise, they gripped the road fairly well.  I like to drive with the windows down so I can hear the tires and they gave very good audible feedback.  A little scrubbing sound as you start to turn in, gradually increasing in sound as you push it harder.  On a few tight hairpins I got on the gas a little more aggressively at exit and got some wheelspin but as everyone has noted, nothing too dramatic and very easy to modulate.  The whole package was very confidence-inspiring and I was able to drive the car harder than I did the first few times I drove my MR2 there.  With an MR-layout you really have to watch for snap-oversteer if you get too aggressive, but the BRZ's FR layout is much more forgiving and predictable.  The suspension soaked up most bumps very well and I found it much more comfortable to drive than my fairly harsh-riding MR2.  And it offers fairly comparable levels of responsiveness and balance.  I was very pleased with the performance of the car, bone stock -- so I'm not sure I even need to do much upgrading for now, if my main usage of the car is for the mountain twisties I don't want to ruin the comfort and balance it currently has.  If I start heading to the track frequently, then that is another story.
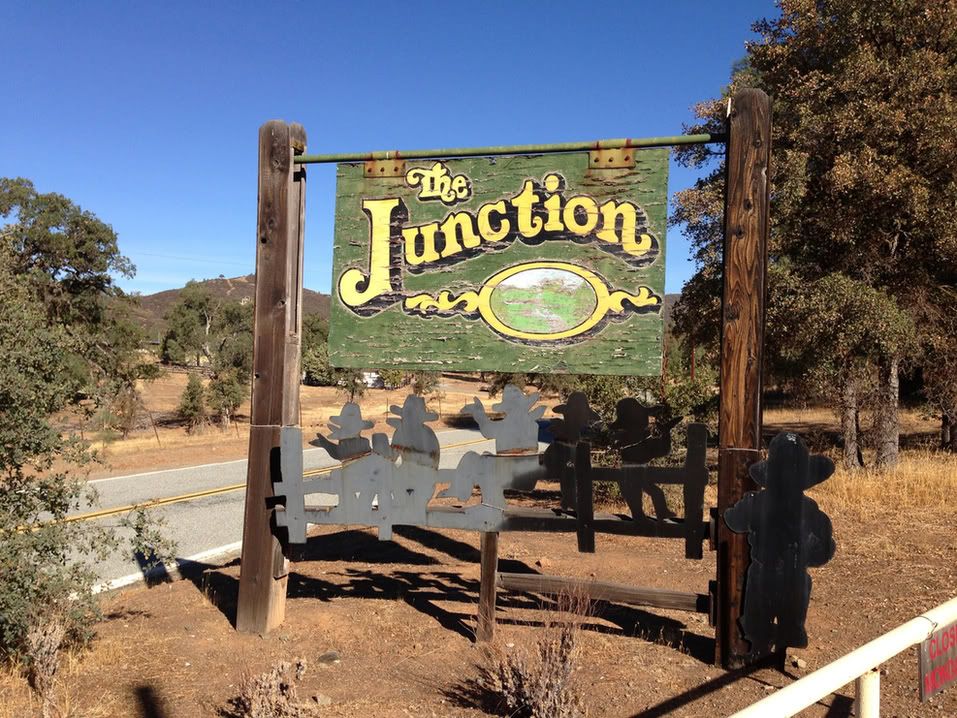

On the way to Mt. Hamilton I stopped by a popular rest point for bikers and cyclists -- The Junction.  Got a few compliments from bikers as I rolled through, but I didn't stay long.  I was having too much fun driving!  When I got to the Observatory at the top of the mountain, there were no other cars there, just a few bicyclists.  The view up there is fantastic on a clear day.  Again, after a brief stop to take a few pictures, it was time to head back down and tear up the roads some more...

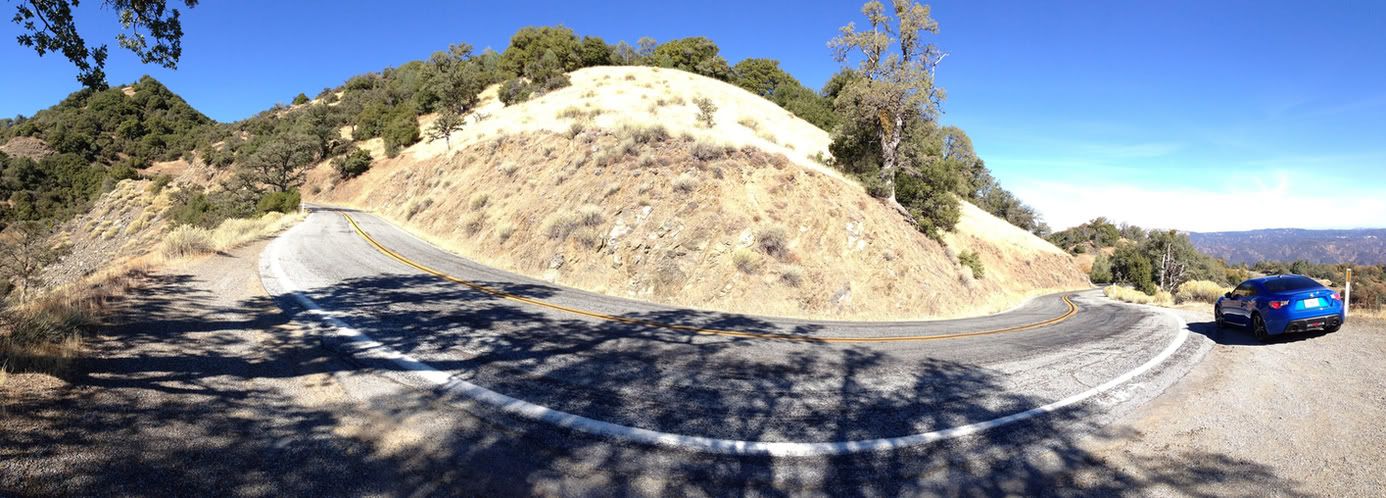

That wasn't the end of my day though.  I also had to take Stitch in to get smogged, so I could register it at the DMV this week.  So I stopped by my local smog test place, the guy there is cool and we talked about the car for a while and he even snapped a pic of it after the test.  Of course, Stitch passed with flying colors!
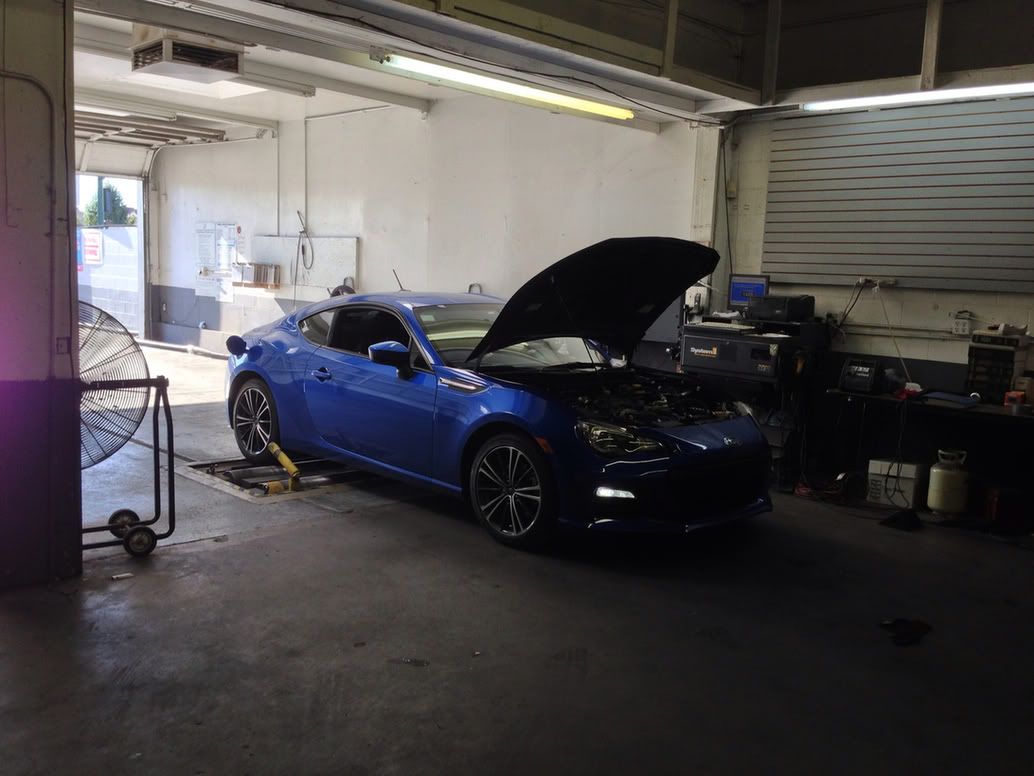

Then it was back home and time to give Stitch a much-deserved bath.  My wife was nice enough to help me clean the interior while I dried the exterior.
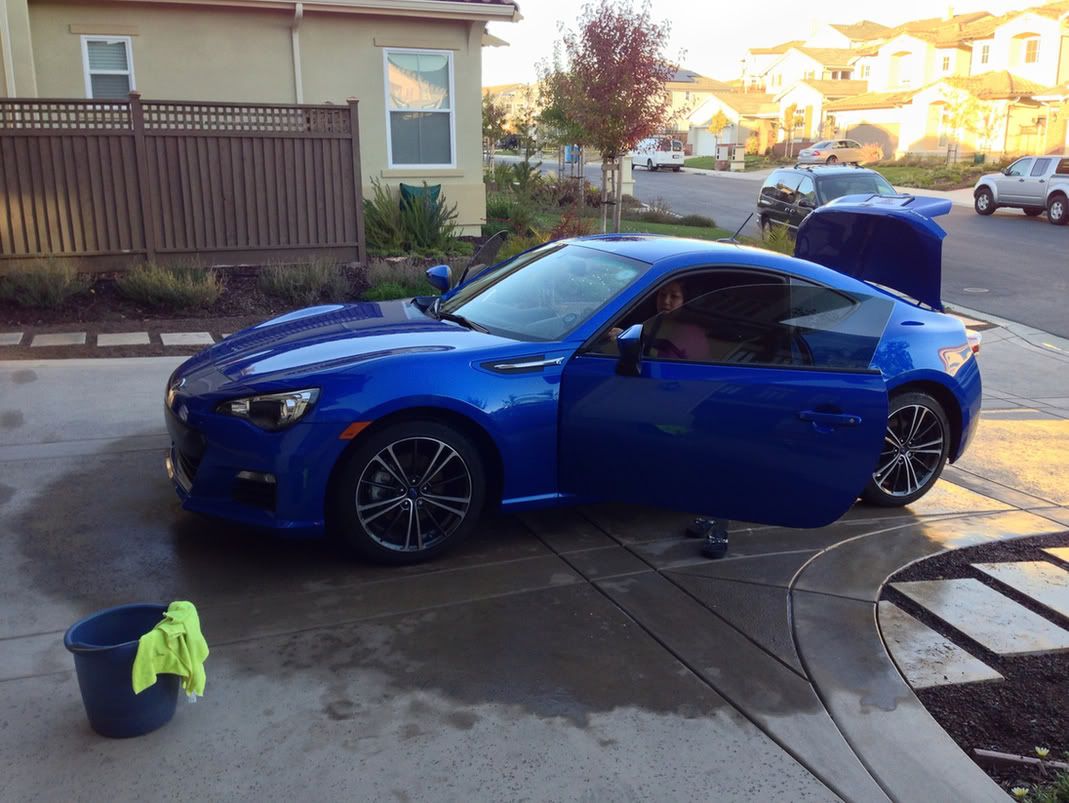

Then I spent the rest of the evening applying the 3-stage Meguiar's Deep Crystal Shine system.  Paint cleaner, polish, then wax.  My back is a little sore and my arms a little tired, but man the shine on the car is so impressive, like a mirror.  Maybe in the morning I will take the car out and get some more shots of it in its oh-so-clean glory.  

Saturday, November 19, 2011

architectural

It's been a year since we moved into our new place at Stonebrae. And we still haven't started landscaping in our back yard. Not to worry though, I have been hard at work designing and visualizing what our back yard will look like, and we've selected our contractors for the project. So we'll be getting that started soon and we're very excited about how it will turn out.
2D drawing, my layout overlaid on top of plan drawing of our lot.

I started out sketching designs and ideas on the iPad using Autodesk's Sketchbook Pro, which is a great 2D sketching tool. But when I started to use photos and try to visualize the outdoor kitchen and pergola in 3D, it wasn't cutting it.

Top view of the lot in Sketchup.

 So I found out about Google's free 3D drawing tool, Sketchup, and started playing around with it. It's pretty easy to learn by watching the various tutorial videos they make available, and you can't beat FREE! So I started out by sketching the kitchen area, and next thing you know I had added the pergola, and then the whole backyard design. And then to take it to the next step, I started drawing the outline of the entire house, and before you know it I had a complete 360 view of the property. So I went ahead and did some redesign in the front yard too. This stuff is addicting! One of its primary purposes is for architectural and landscaping design, so it was very easy to take the real world measurements I had and input them to make my drawing to-scale and as realistic as possible.  

Kitchen and pergola area, with measurements using Sketchup.

In addition, Sketchup can pull in real world imagery from Google Maps and Google Earth, so you can actually render stuff and see what it looks like in real locations.  And you can build and share objects (called components or models) with everyone else in the Sketchup community, so you don't even have to draw/create everything yourself.  If you need a pre-rendered palm tree or a chair, chances are someone has already done it for you, and you can just drop it into your project and move/rotate/scale it around to your taste, or even tweak it further.  Data just wants to be free...

Plants, furniture and pergola from the 3D Warehouse.  House, walls and fountain design by me.

We're still in the process of getting approval through the HOA but our contractor is on board and we are ready to make this jump from virtual to reality very soon. Stay tuned for real photos of the finished project and we'll see how true to the design it turns out!


Friday, July 01, 2011

improvisation

Although they say "necessity breeds invention", I guess this doesn't really count as a true invention, because the idea is not original or novel. But I'm so dang pleased with myself that I just have to tell this story.


I've been playing around with my iPad for a while now and naturally I've tried some drawing apps to see how well they work with the iPad. To make a long story short, they're pretty neat programs and it's fun to do a little painting/drawing with your finger, but ultimately the finger painting technique lacks the kind of precision you want when doing anything other than, well, finger doodles and very rough sketches. Specifically, we've started trying to plan and sketch out what our back yard is going to look like when we are meeting with landscaping contractors and I've used the iPad a few times to show some thoughts and basic ideas. One of the cool things the app I use (a free app called DrawCast) can do, is use an existing image as a background and then you can draw on top of it (I'm sure lots of the popular drawing apps can do this). So I've taken a clean drawing of our backyard lot and imported it into the iPad, so I can use it as a background and draw sketches of our landscaping ideas over it. Sure beats using a bunch of paper to draw and redraw as we try to form our often-changing ideas about what the backyard should look like. The accuracy of my finger drawing was pretty rough though and in one of these collaborative sessions V. asked why didn't I get a stylus for the iPad? That got me thinking about it and I started shopping online for one. Turns out these things are like $15-$40!! What the frak?! They're just pieces of capacitive foam or rubber at the tip of a pen-like tube right? Well I kept reading about how great they are and how much people like them so I went ahead and ordered one through Amazon -- for $15.

Well I was hoping to get it today (Friday) just before the long weekend, so I could play with it all weekend long but to my dismay the Amazon Prime has let me down -- it's Friday evening and no stylus. So in my despair I went back online and thought, man it's such a simple design, there has to be a way to do it yourself and make one on the cheap right? Google to the rescue! I found a few links and apparently there are quite a few different ways to make one. But the one I ended up following, was incredibly simple and requires only 3 parts. A pen or stick (easy), some tape (easy), and a piece of capacitance-conducting material (erm... wha?). Turns out it was easier than I thought when the DIY instructions mentioned using the shiny anti-static packaging that internal hard drives come packed in. Every true geek (and maybe even the average experienced computer user) has some of this stuff laying around. I was at work and just looked around in my office and found some in like 2 minutes. 5 minutes later, with some scissors to cut a small quarter-inch wide by 3 inch long strip of the material, I was in business. Wrapped the shiny material around the tip, leaving a little bit of play between the material and the tip of the pen (I used a click-type pen so that the ball point was retracted for this). The idea is to let it compress or squish (yeah, highly technical term) a little when it is pressed down on the screen, so that it kind of emulates the touch profile of your finger when you touch or tap the screen. Taped it down, then wrapped the rest in a spiral up the pen, and taped down that end to the pen. Done. How does it work? Pretty dman well if I say so myself (and yeah, I think I just did). I tested it against the iPad screen to unlock, and it worked fine. Flipped through some pages to find my drawing app, perfect. Launched the DrawCast app and started writing, drawing, whatever. Worked like a charm. So much better than using a finger.  And no greasy screen smudges from my fat oily hands!  I'm so dang pleased with myself. I had to run around the office and tell some of my coworkers.

What makes it work? The touch screen is a capacitive screen, so it reads an electrical impulse from your finger. Using a plain old stick or pen won't work because they won't conduct electricity from your finger to the screen. The capacitive material at the tip of the stylus (yes, by my magical craftsmanship it has been transformed from a pen to a stylus, doesn't that sound fancy and worthy of $15?) does the trick, and by spiraling it up the length of the pen, it contacts your fingers where you hold the pen. I suppose the same thing could be accomplished if you have a pen with a metallic conductive tube, but I improvised with what I had in front of me, with all of 5 minutes effort. Like I said, magical craftsmanship.

So now I'm going to play with this over the weekend and see how it works for me. Who knows, maybe when my "real" stylus finally arrives in the mail next week, I might just return it and keep using my DIY stylus instead.